
I have details about all the decorations if you'd like to read on...
PHOTO FRAME -
This was a fairly large frame that we borrowed from a friend. There is chicken wire on the front and we added coordinating fabric to the back (which can be changed according to the event). We used small clothespins to attach the pictures to the chicken wire and placed the frame on a tall easel next to the food table. It was a hit!

BRUNCH -
We had a brunch theme and served mini blueberry muffins and mini cinnamon rolls (both from Costco). We had two homemade breakfast casseroles that were delicious. I made apple "Fruit Swirl Cake" and cut it up in squares that were about 2x2 inches. My friend made these cute fruit kabobs too and everyone loved them. We used tiered platters to serve the baked goods and it looked wonderful (but I didn't get a picture of the whole set-up unfortunately because I was too busy hostessing).

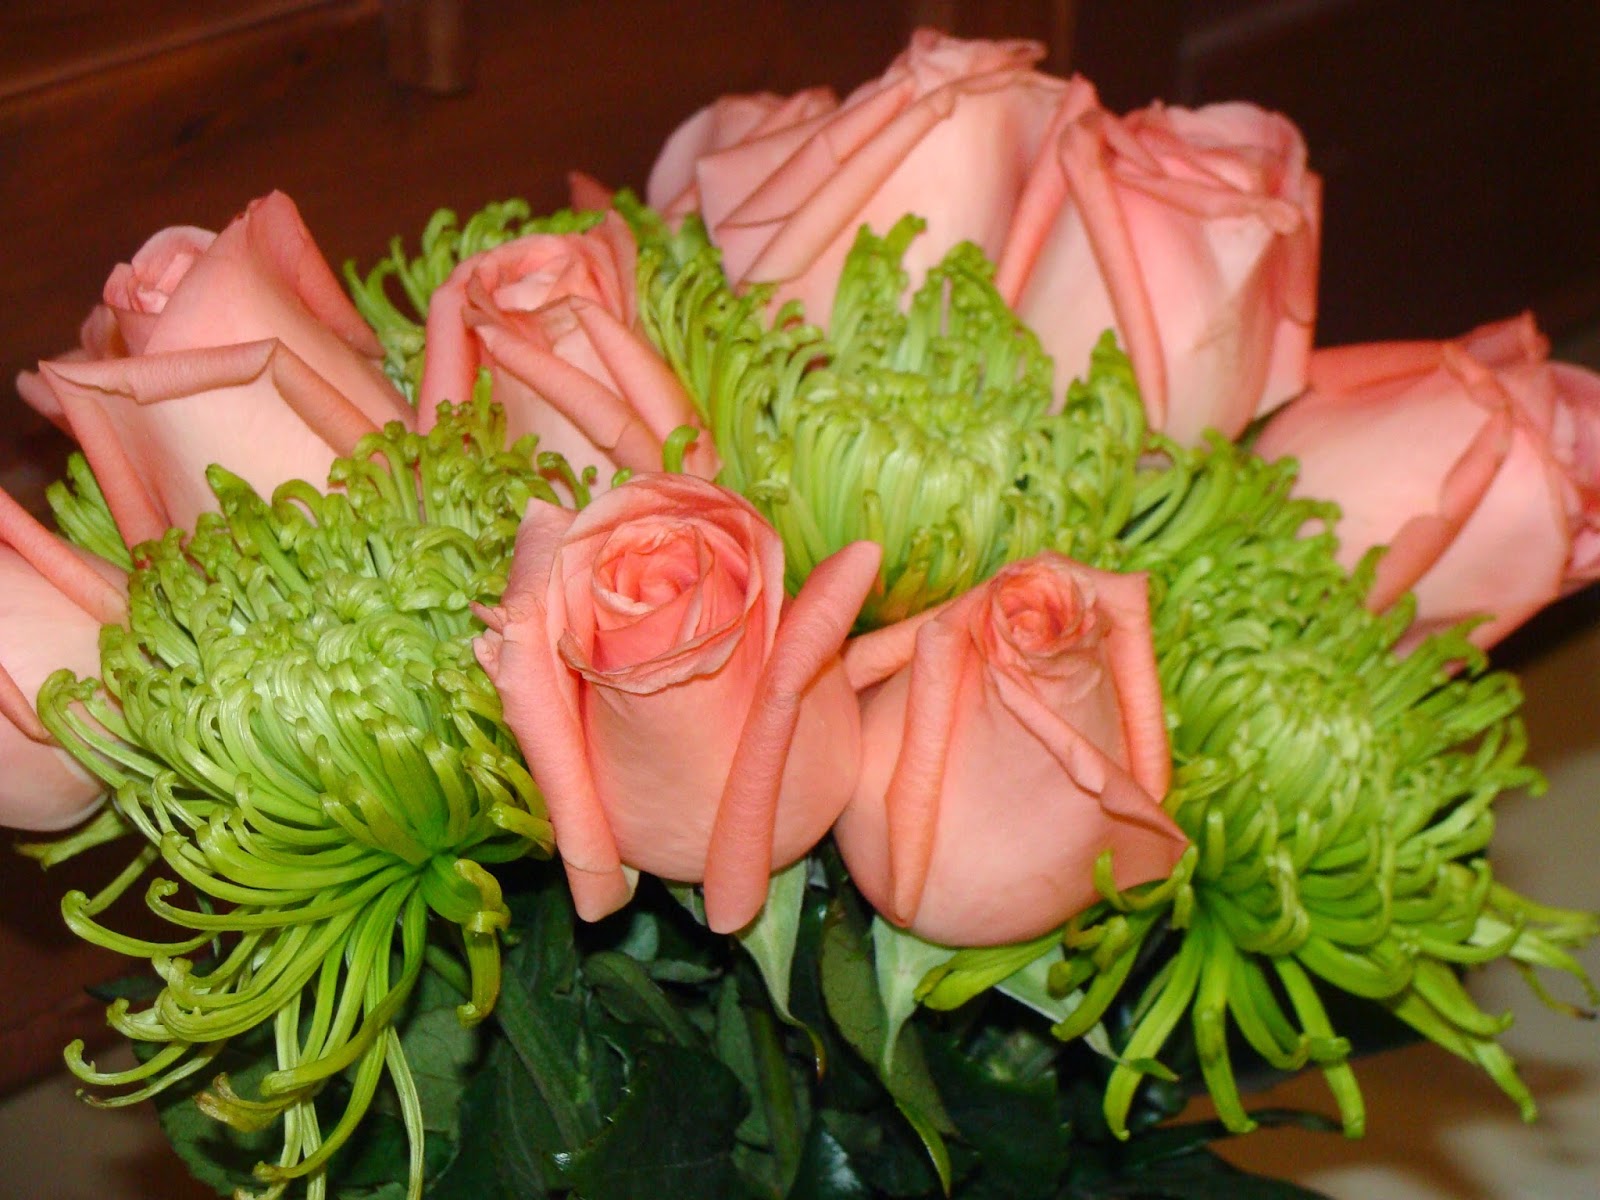
FLOWERS -
One of my co-hostesses bought these beautiful coral roses at Costco and we placed them in a vase that I had spray-painted gray (warning, be careful if you wash a vase after spray painting because the paint can come off). We had roses on each side of the food table. I purchased the vases at a thrift shop.

ROMANTIC QUOTE SIGN -
I made this little wooden sign and attached a fun quote to it. It was easy to make. I just bought the little wooden candlestick holders at Hobby Lobby (I used 2 and glued them together). Then I glued those to a square wooden base from Hobby Lobby and attached the wooden rectangle on the top. I spray-painted the entire things gray to match the color theme and designed the quote on the computer using Stampin' Up "My Digital Studio" graphics. Click HERE for the PDF file of the quote.


Here's what we hung over the food table. Pom-poms and pennants are so girly and I couldn't resist making them to add a festive touch.
POM-POM's
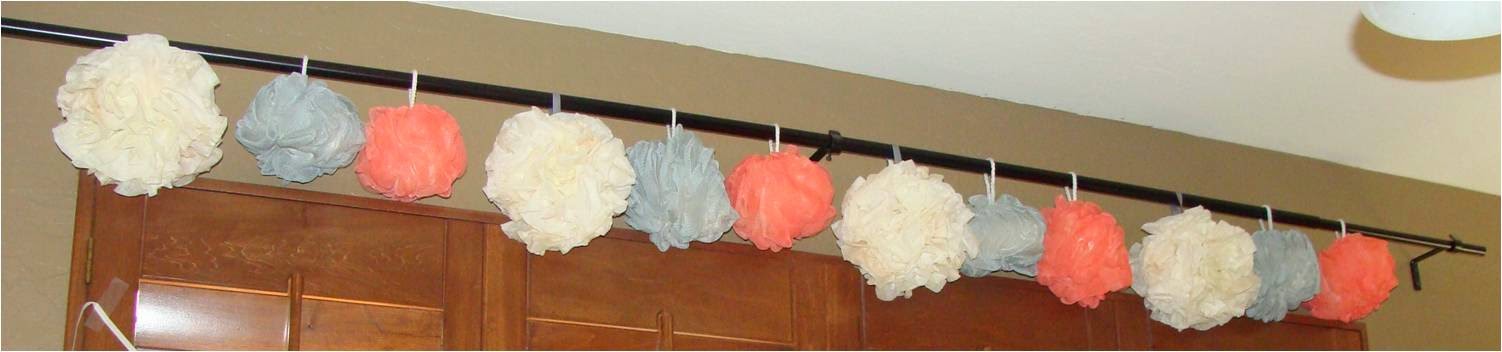
I had a really hard time finding coral or gray tissue paper so I had to get creative. I bought loofah puffs at Walmart and then spray-painted them gray or coral. It was really easy.
For the cream colored pom-poms, I really thought outside the box. I had seen people post coffee filter pom-poms on Pinterest but it seemed like a lot of effort to attach all those filters to make a pom-pom. I thought to myself, why not use a Wiffle ball and just stick filters in the holes to make a pom-pom? I have to admit that the idea was genius and it worked fabulously!
I didn't take pictures of the process but luckily my awesome friend Tammy took photos when she made these pom poms with her daughter and niece. Thanks for sharing ladies!

Here are the detailed directions:
1) BUYING THE WIFFLE BALLS - I found some old Wiffle balls in my garage and decided to use those. They also sell them at Target. The balls need to have round holes evenly spaced around the ball like this -

NOT the ones that have openings like this -

2) DYING THE COFFEE FILTERS - I bought plain old coffee filters and then soaked them in a bowl of herbal tea until they turned a cream color (or could use real tea but I didn't have any). I did these in several different bowls and they all came out in slightly different shades because I wanted them to have some depth and variety.


3) DRYING THE COFFEE FILTERS - At first I laid out each filter separately to dry but quickly realized that would be a huge pain to do and would take up a lot of space. So I just stuck small stacks of the wet filters on my granite counter and left them to dry overnight. Then I realized that I needed more dyed filters and I came to the reality that I really didn't have patience enough to wait overnight so I tried putting the filters in the dryer on low for a few minutes. It totally worked.

4) ATTACHING THE COFFEE FILTERS - After the filters were dried, I simply started poking the filters in the holes, using the eraser end of a pencil. I put one filter in each hole. The filters were pretty sturdy and I just put the eraser centered on the filter and shoved the filter in the hole. I tried to space out the slightly different shades around the ball so that they all looked similar and had some depth to them.


5) HANGING THE POM-POMS - To hang them, I found some gray grosgrain ribbon in my office (I will admit that I am a ribbon hoarder) and knotted the ends together to make a loop. I stuck the knot through one of the holes that already had a filter in it and I then had an easy way to hang the pom-pom up to display.
Feel free to try this at home. I will admit that I was very excited to have created a new pom-pom craft. I searched Pinterest and couldn't find anyone else who had used a Wiffle Ball for the center. COOL BEANS!
PENNANTS

You'll be happy to know that these pom-pom's and pennants found a permanent home in a teenage girls' room. She incorporated them as a permanent decoration since her color theme involves the coral color. That is a much better place for them than sitting in a box in my garage.
No comments:
Post a Comment